Detailing Guides · 5 min read
Interior Car Detailing Checklist: 12 Steps To A Showroom-Clean Cabin
The complete interior detailing checklist used by professional detailers — twelve steps in the right order, plus the cleaning agents that ruin specific materials.
The Rabbit Wash Team · Published May 22, 2026 · Updated Sep 21, 2026
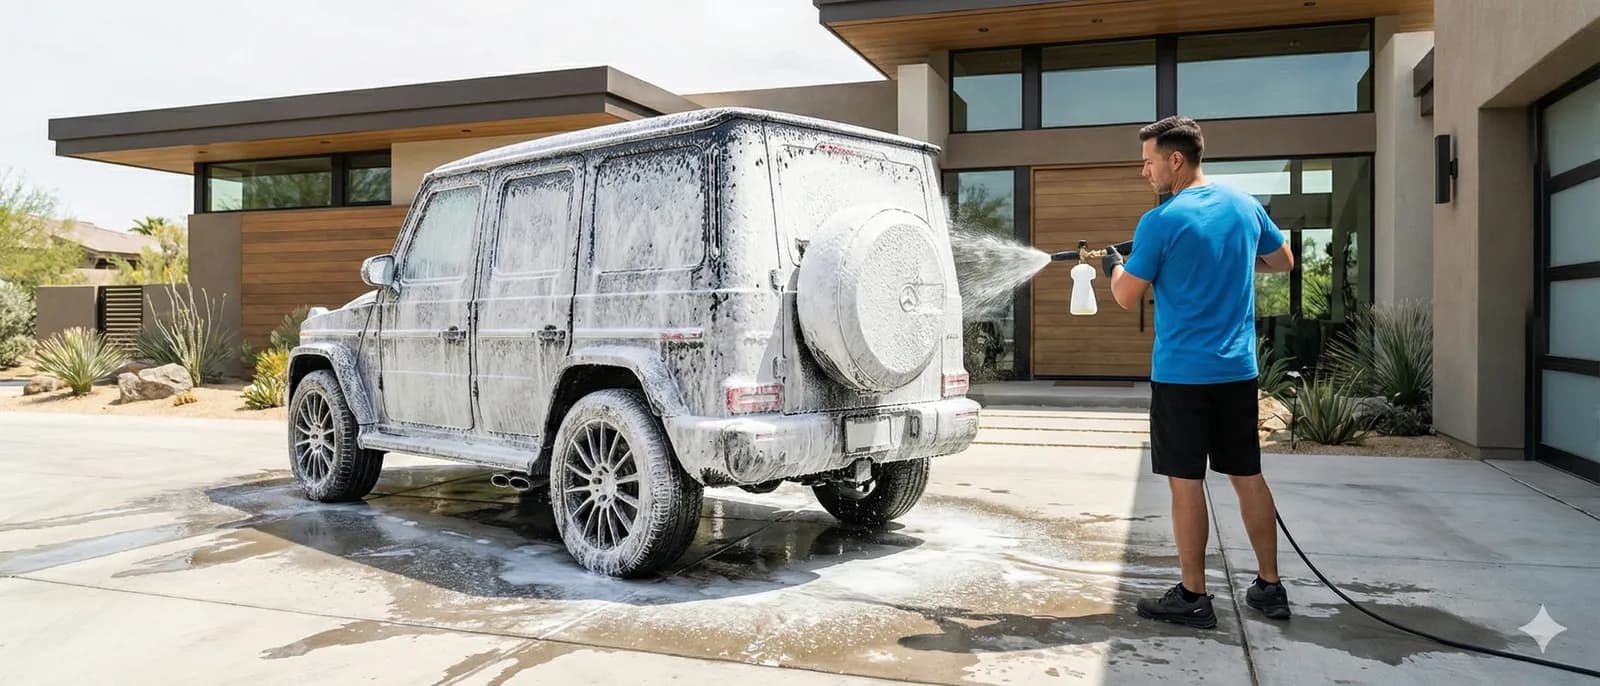
A great exterior wash with a neglected interior is one of the most common detailing mistakes. The cabin is where you spend your time, and it’s the surface that shows wear the fastest. Yet most owners spend ten minutes vacuuming and call it done.
This is a 12-step interior detailing checklist in the order professionals work. Order matters: skipping ahead means re-cleaning surfaces you already finished.
Before You Start: Prep Matters
Park in shade or a garage. Direct sun bakes cleaning products onto surfaces before you can wipe them off, leaving streaks. Have all your tools and products laid out before the first step — interior detailing breaks momentum if you’re hunting for supplies.
What You’ll Need
- A vacuum with narrow + brush attachments
- Multiple clean microfiber towels (at least 6)
- Soft detail brush (1" paint brush works well)
- Stiff brush for carpet
- All-purpose interior cleaner (pH-neutral)
- Glass cleaner (ammonia-free for tinted windows)
- Leather cleaner + conditioner (if applicable)
- Fabric / carpet cleaner for stains
- Plastic / vinyl dressing (matte finish only — avoid greasy "wet look" products on dashboards)
The 12 Steps, In Order
1. Remove All Items And Floor Mats
Pull everything out: phone holders, change, papers, kids’ toys. Remove floor mats and rear cargo mats and set them aside — they’ll be cleaned separately.
2. Initial Vacuum (Top To Bottom)
Vacuum the headliner first (light passes only — headliner fabric tears easily), then seats, then floor. Use the narrow attachment to get into cup holders, vents, and the gap between the center console and seats. Work from rear to front.
3. Compressed Air Or Detail Brush In Vents
Air vents accumulate dust that vacuums can’t reach. Use compressed air (low pressure) or a soft detail brush to push the dust out — then vacuum what falls. Skip this step and your AC will smell musty within a month.
4. Headliner Cleaning
Lightly mist a microfiber with diluted all-purpose cleaner. Never spray cleaner directly on the headliner — the adhesive that holds it to the roof is water-soluble and will let go. Wipe in straight passes, never circular.
5. Door Panels And Door Jambs
Open each door, clean the jamb (the metal frame area where the door meets the body), then the inside of the door panel. Use a soft brush in textured plastic seams where dirt accumulates. Don’t forget the speaker grilles and the bottom edge of the window glass where it meets the rubber seal.
6. Dashboard, Instrument Cluster, And Steering Wheel
This is the area that takes the most UV exposure and where bacteria concentrate. Use a damp microfiber with interior cleaner — never spray directly on screens or instrument clusters. Wipe in straight strokes. For the steering wheel, use leather cleaner if it’s leather-wrapped, or a damp microfiber if it’s plastic / synthetic.
7. Center Console, Cup Holders, And Shift Area
Remove rubber cup holder liners and wash them separately if your model has them. Use a detail brush in tight seams. The shift boot collects more dust than owners realize — give it a thorough pass.
8. Seat Cleaning
The product depends on the material:
- Leather: Wipe with leather cleaner, then condition every 4–6 months to prevent cracking. UV is the leather killer in LA.
- Cloth: Vacuum thoroughly, then spot-treat stains with fabric cleaner and a stiff brush. For deep cleaning, a hot-water extractor is the only complete option.
- Alcantara / suede: Use a dedicated alcantara cleaner only. Brush gently in one direction. Avoid steam.
- Vinyl / synthetic leather: All-purpose cleaner is fine. Don’t use leather conditioner — it leaves a greasy residue.
9. Seat Belts
Often forgotten, almost always dirty. Pull the belt fully out, clamp it open with a binder clip so it can’t retract, then clean with a damp microfiber and all-purpose cleaner. Let it fully dry before allowing it to retract — wet belts can fail to lock properly and the retractor mechanism can rust.
10. Glass — Interior Side
Save glass for after the dashboard. Spray glass cleaner on a microfiber (not on the glass directly), then wipe in one direction horizontally and a second pass vertically. The two-direction method makes streaks obvious. For tinted windows, use ammonia-free cleaner only — ammonia degrades aftermarket tint.
11. Floors And Floor Mats
Now the floor. Vacuum thoroughly again — you’ve dropped dirt onto it during steps 4–10. For carpeted floors, mist with fabric cleaner and agitate with a stiff brush, then vacuum the residue. For rubber mats, hose them down outside and let them air dry before reinstalling.
12. Plastic And Vinyl Dressing (Last Step)
Apply a matte plastic / vinyl dressing to dashboards, door panels, and exposed plastic trim. Avoid wet-look products — they look unprofessional, attract dust, and can become slippery on steering wheels and shift knobs. A satin or matte finish is what every dealer uses.
How Long Should A Full Interior Take?
For a normal sedan in average condition: 90 minutes to 2 hours. For an SUV with kids and pets: 3 to 4 hours. For a heavily neglected interior with deep stains: half a day plus extraction equipment.
What Pros Do That You Can’t Replicate At Home
- Steam cleaning. 240°F steam sanitizes surfaces and lifts stains without chemicals. The equipment is expensive and learning to use it without damaging interiors takes practice.
- Hot-water extraction. A commercial extractor injects hot solution into carpet and immediately vacuums it back out, pulling deep dirt. Rental machines exist but don’t match commercial-grade pull.
- Ozone treatment. Removes smoke, food, and biological odors at the molecular level. Requires the vehicle to be sealed and unoccupied for 2–4 hours.
- Bio-hazard cleanup. If something went badly wrong (sick passenger, spilled food left for weeks), professional decontamination protocols apply.
Steam cleaning and carpet shampoo are part of the Rabbit Showroom Full Detail; Steam Cleaning, Carpet Shampoo, Ozone Treatment and Bio-Hazard Cleanup are also available as add-ons.
How Often To Deep-Clean The Interior
For routine maintenance: a vacuum + wipe-down every 2–3 weeks. A complete deep detail (everything on this checklist plus steam and extraction): every 3–4 months. Owners with pets or kids who eat in the car should detail every 6–8 weeks.
The Takeaway
Interior detailing is more about sequence than effort. Twelve steps in the right order produce a far better result in less time than eight steps done randomly. Use the checklist above on your own car.
If you’d rather not spend a Saturday on it, a Detail Rabbit visit covers a deep interior clean — seats, carpets and door jambs — plus a full exterior wash, at your door.
Frequently Asked Questions
How long does a full interior detail take?
A normal sedan takes 90 minutes to 2 hours. SUVs with kids or pets typically take 3–4 hours. Heavily neglected interiors with deep stains can require half a day plus extraction equipment.
What should I use to clean my car dashboard?
A pH-neutral interior cleaner sprayed on a microfiber (never directly on the dash). Finish with a matte plastic dressing — avoid wet-look products, which look greasy and attract dust.
Can you steam clean a car interior at home?
Consumer steam cleaners exist but don’t reach the 240°F commercial steam used by detail shops. They’ll handle light spot-cleaning but won’t sanitize deeply or extract embedded dirt.
How often should I detail my car interior?
A routine vacuum and wipe-down every 2–3 weeks. A full deep detail every 3–4 months for normal use, or every 6–8 weeks for families with kids or pets.
Related Articles
Detailing Guides
How To Remove Pet Hair From Your Car (Step-By-Step Guide)
A pro detailer’s 6-step method to remove deeply embedded pet hair from car seats, carpets, and trunks — including the rubber-glove trick that beats every gadget on the market.
May 16, 2026 · 5 min read
Car Care
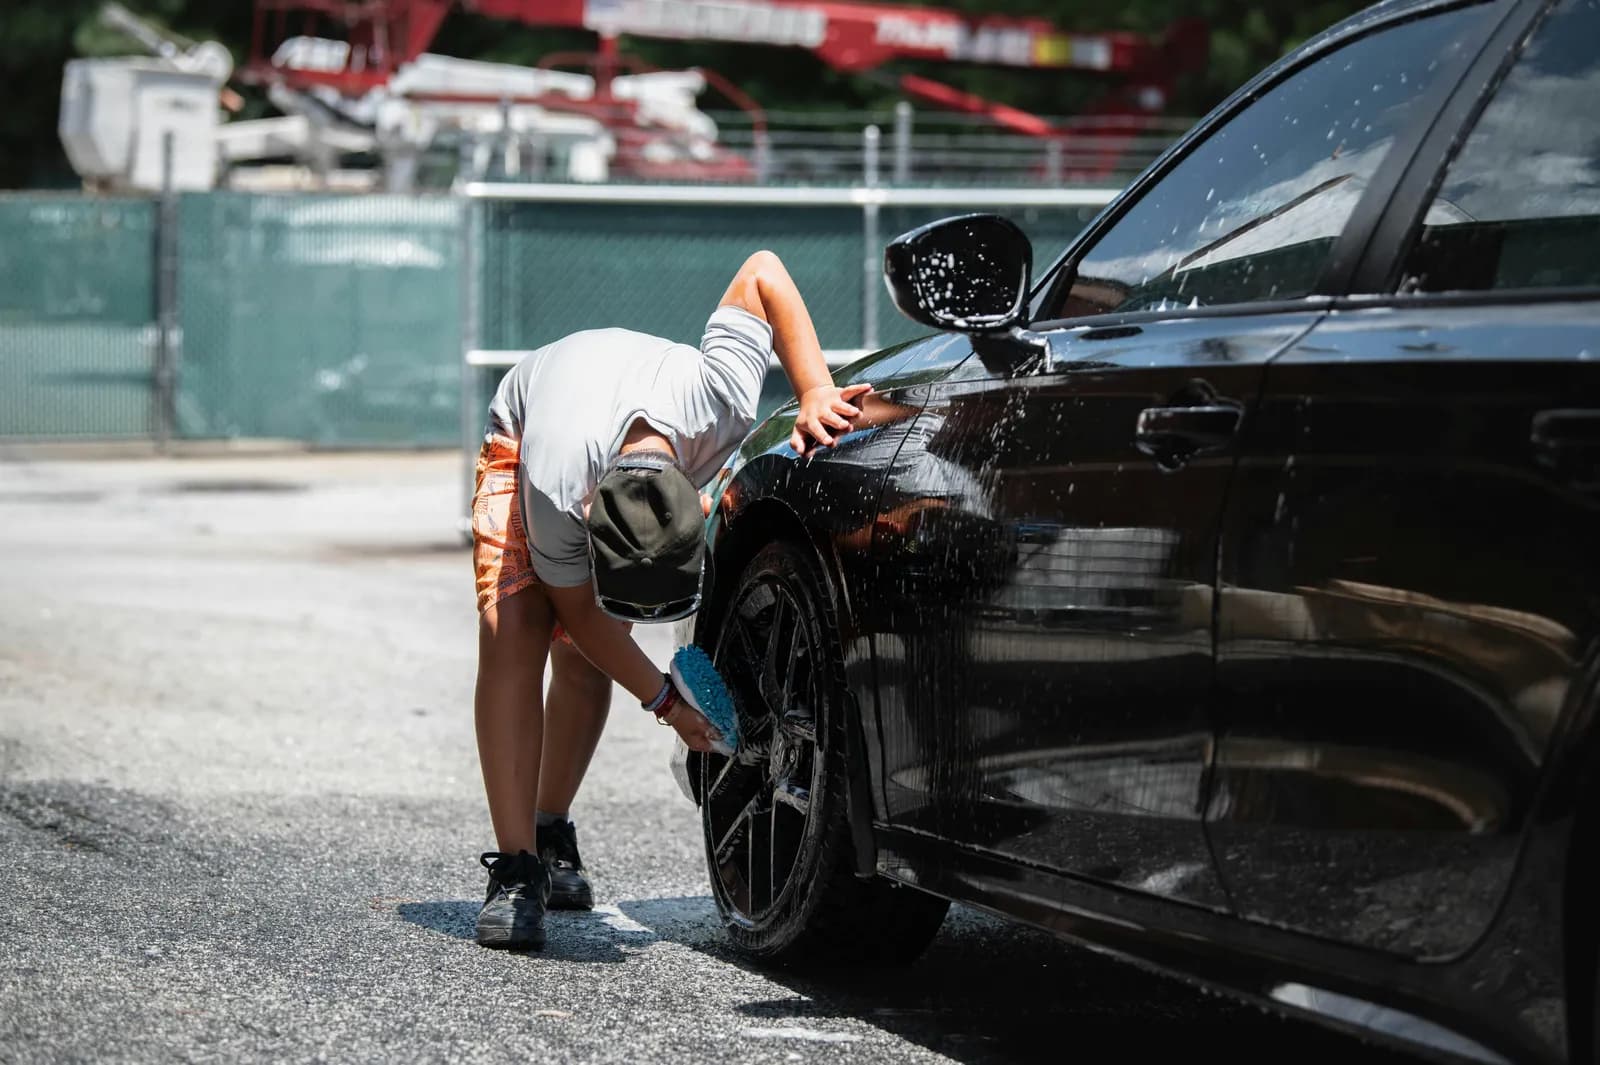
Best Time Of Day To Wash Your Car In Southern California
Early morning (6–9 AM) is the best time to wash your car in Southern California. Cool surface temps prevent water spots, low UV protects soap chemistry, and your wax cures properly. Avoid washing between 11 AM and 4 PM during summer.
May 24, 2026 · 5 min read
Car Care
How Much Does Mobile Car Detailing Cost In Los Angeles?
What sets the price of a mobile car wash or detail in Los Angeles: the package, your vehicle's size, the extras you add, travel and cancellation terms, and whether you book once or monthly. The Rabbit Wash's current prices are on its packages page.
May 24, 2026 · 4 min read